How to Build a Simple Home Audio Setup for YouTube

Sound better without turning your living room into a recording studio
You’ve got ideas. You’ve got a camera. You’ve got something worth sharing.
But if your audio sounds like it’s coming from inside a cereal box, people will click away faster than you can say “like and subscribe.”
Here’s the truth: you don’t need a studio full of blinking lights and overpriced gear to sound great on YouTube. You just need a smart, simple home setup that works for your space and doesn’t require a second mortgage or a tech-savvy nephew.
Why Audio Matters More Than Video
Yes, video quality is nice. Yes, looking sharp on camera helps. But your audience will forgive a slightly blurry image. They will not forgive muffled, echoey, or low-volume audio.
Bad sound makes you seem unprepared, unprofessional, and weirdly untrustworthy—even if your content is solid.
Good sound builds trust. It keeps people watching. It helps them take you seriously, even if you're recording in your kitchen between loads of laundry.
The Simple YouTube Creator Audio Setup
1. Use a USB Microphone
Skip the laptop mic. It’s barely built for Zoom calls, not creating content.
Start with something like the Samson Q2U or Shure MV7. Both are plug-and-play and sound great out of the box.
-
Position the mic 6–8 inches from your mouth
-
Angle it slightly off to the side (no direct spit path, please)
-
Add a pop filter or foam cover to tame the plosives
2. Mount It Right
Get a basic mic arm or stand. A cheap table-mounted boom arm keeps the mic stable, consistent, and out of your shot. Stacking books is fine for college. Not so much for creators.
3. Use Headphones
You don’t need them while recording, but they’re helpful for playback. You’ll hear issues you didn’t catch live, like background hiss, room echo, or that neighbor who decided to mow their lawn halfway through your take.
4. Treat the Space (Not Your Wallet)
This part sounds fancy but isn’t.
-
Record in a smaller space with carpets, furniture, and soft surfaces
-
Hang blankets or curtains behind you
-
Avoid facing large hard surfaces like windows and blank walls
-
Closed blinds help more than you think
Your goal is to reduce reflections and tighten up the sound. A closet full of clothes beats an untreated open room any day.
5. Syncing Audio with Video
Record your audio into your computer or a separate recorder, not directly into your camera.
Then do the clapper trick—snap your fingers, clap your hands, whatever—so you have a visual and audio spike to sync things in post.
I find that when I use Descript, the clapper trick is the only way to make sure my audio and video will sync afterward.
If you’re using tools like OBS, Loom, or Riverside, they can capture both high-quality audio and video together. Less syncing, more sipping coffee.
Common Mistakes That Tank Your Sound
-
Using your built-in laptop mic
-
Recording in an echo chamber of a room
-
Sitting three feet away from the mic
-
Not testing your levels before recording
-
Thinking you need to “fix it in post” (don’t)
Most of these take five minutes to avoid. The difference in sound is massive.
Quick Setup Example (Under $200)
Here’s what a budget-friendly setup looks like:
-
Samson Q2U USB/XLR mic: $70
-
Boom arm and pop filter: $30
-
Use your existing webcam or phone for video
-
Record in a treated corner or closet for instant vocal booth vibes
You don’t need to overthink this. You need to sound decent and show up consistently.
Want to Sound Better, Faster?
If you’re tired of guessing what mic to buy or how to get rid of the room echo that makes you sound like a YouTuber trapped in a stairwell, we’ve got you.
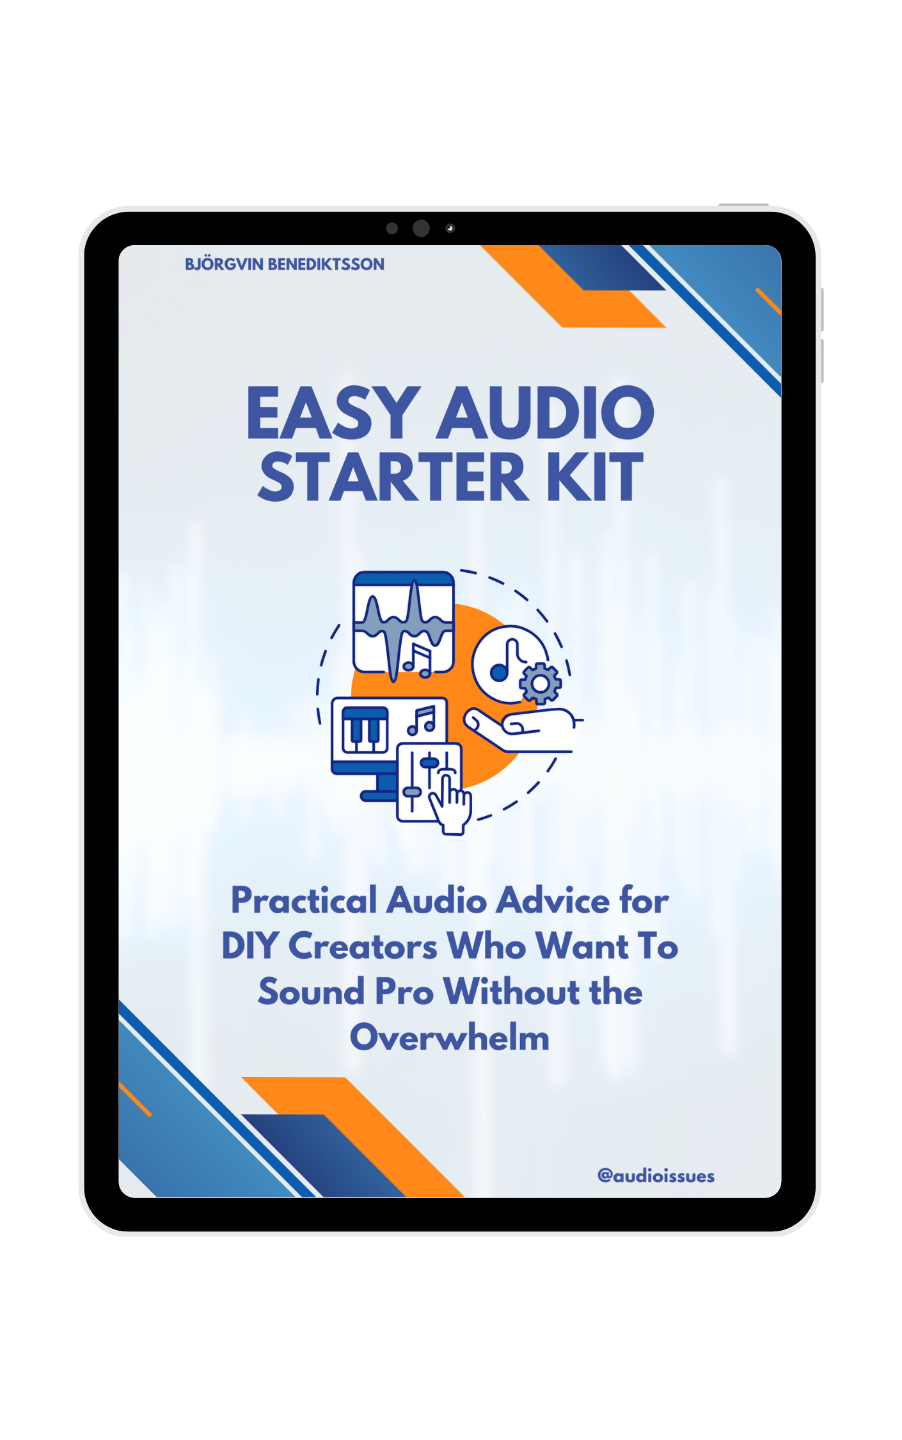
Download the Easy Audio Starter Kit. It includes:
-
The gear we actually recommend (no fluff, no upsell)
-
Room treatment hacks that don’t involve foam pyramids
-
Diagrams and cheat sheets that make setup easy
-
The biggest rookie mistakes and how to skip them
Whether you're launching your YouTube channel, upgrading your course videos, or just trying to sound less like a robot on Zoom, this kit gives you the shortcuts.
About the Author
Björgvin Benediktsson is an audio educator, best-selling author of Step By Step Mixing, and founder of Audio Issues. He’s helped thousands of creators sound like professionals, even from home studios where the acoustic treatment is literally a blanket duct-taped to a bookshelf.
 This plug-and-play quick start guide will help: